Saturday, November 16, 2013

Sweet Potato Hash with Onions, Sausage, and Eggs

 You know you're busy when you invite a friend over for a meal... and it's for breakfast...on a Saturday...so you can get an early start on a finishing a poster for a conference that's still a few months away. Well that was the case here, and I needed something I could prep the night before and heat up quickly the next morning. Something that would go well with a hot cup of coffee and would fill us up for the long day of work ahead. Slightly adapted from over here.

Ingredients
2 large yellow onions
1 tbsp. butter
Salt and black pepper
1 lb. Jimmy Dean sausage (sage flavor)
3 large sweet potatoes
6 large garlic cloves
1/4 cup rosemary leaves
3 tbsp. olive oil
Large eggs
Parmesan cheese

Directions
1. Heat oven to 450 degrees.
2. Slice onions into half-moons, and cut the moons in half.
3. In a large cast-iron skillet (or oven-safe saucepan), melt better over medium-high heat. 
4. When it starts to foam, add onions and sprinkle with salt.
5. Lower heat and cook onions for 30 minutes, stirring occasionally, lowering heat as needed. Cook until very dark brown and caramelized.

6. Meanwhile, cook sausage in another saucepan, crumbling over medium-high heat until brown and crispy, about 10 minutes.
7. Set aside and drain away excess fat.

8. Meanwhile,  wash and dry sweet potatoes and dice unpeeled vegetables into 1/2-inch cubes. Place in large mixing bowl.
9. Finely mince garlic and rosemary leaves and toss with sweet potatoes.
10. Also toss olive oil, salt, and black pepper.

11. When onions and sausage are ready, stir into sweet potatoes.
12. Line a large baking sheet with parchment paper and spread out sweet potato mixture into an even layer.
13. Roast for 30-45 minutes, until soft and browned.
*Note: at this point you can refrigerate cooled hash for up to five days.

14. Heat oven to 425 degrees.
15. Spread thin layer of cooked hash in a cast-iron skillet (you can also bake in small ramekins).
16. Make small wells in the hash and crack in large eggs.
17. Sprinkle with salt and black pepper.
18. Bake for 15 to 20 minutes, or until eggs are cooked through and hash is hot.
19. Serve immediately, topped with grated parmesan cheese.

Roasted Tomato Soup with Basil Pesto and Cooking Club #2

Once cooking club got off the ground, it wasn't hard to think of themes. And this one was particularly easy to get buy-in for: grilled cheese night!

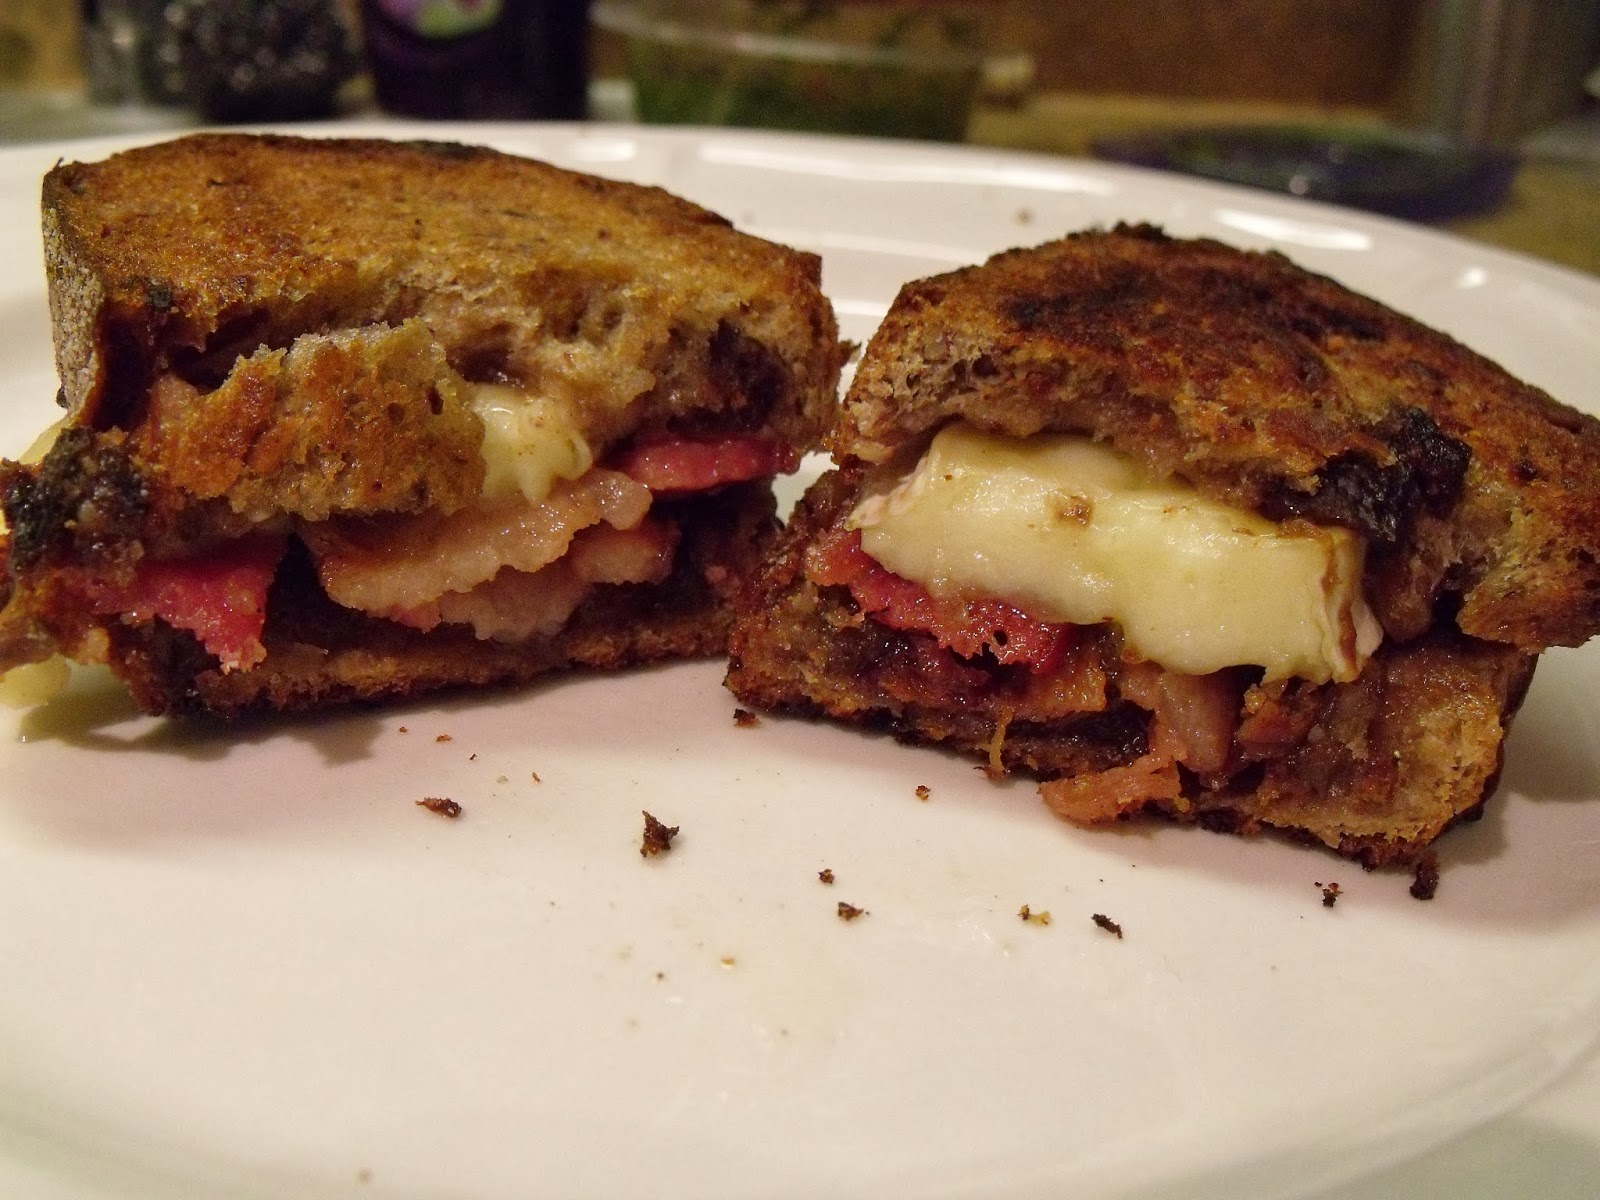
We had havarti with dried cranberries on pumpernickel rolls, brie with apples and strawberries, mozzarella with tomatoes and basil for a twist on caprese, a cheesy one with bacon, and a grilled cheese with a kick of red pepper flakes...and creamy mascarpone with nutella for dessert.


Below is the recipe I made to accompany the handful of yummy grilled cheeses: a roasted tomato soup with basil pesto. Who doesn't love grilled cheese and tomato soup?


Ingredients
2 (28 oz) cans whole San Marzano tomatoes in juice
1 (28 oz) can crushed San Marzano tomatoes
1 1/2 tbsp. brown sugar (*either dark or light is fine)
4 large shallots, diced
4 tbsp. butter (*either salted or unsalted is fine)
1 tbsp. tomato paste
pinch ground allspice
2 tbsp. all-purpose flour
1 (26 oz.) can chicken stock
1/2 cup heavy cream
1 fresh basil leaf
Olive oil
Salt and black pepper

Directions
1. Preheat oven to 450 degrees.
2. Line a rimmed baking sheet with aluminum foil.
3. Place a strainer over a medium/large bowl. Open both cans of the whole tomatoes and dump into the strainer, letting the juice strain into the bowl underneath.
4. With your fingers, carefully remove all of the seeds from the tomatoes. When this is done, use a spatula to push the rest of the juice through the strainer (the seeds should stay in the strainer, and you can throw them away).
5. Place seeded tomatoes on the foil, and sprinkle evenly with brown sugar.
6. Bake for 30 minutes. Let the tomatoes cool slightly and then remove and place in a small bowl. Set aside.

7. While the tomatoes roast, dice the shallots.
8. In a large pot or Dutch oven, heat olive oil. Saute the shallots, tomato paste, and allspice until softened, stirring occasionally (about 7-10 minutes).
9. Add the flour and cook for 30 seconds, stirring it in.
10. Gradually add the chicken stock and whisk constantly to combine.
11. Stir in 3 cups of reserved tomato juice (which, when I made it, was the entire bowl).
12. Add the roasted tomatoes and the can of crushed tomatoes. Also, add the basil leaf.
13. Increase the heat to medium and bring to a boil. Then, reduce to a simmer and let it go for 10-15 minutes.

14. Remove the basil leaf and discard, then blend the soup with an immersion blender.
15. Add the cream and heat for three minutes until heated through.
16. Season with salt and black pepper.

17. You can add the basil pesto at the end. I just eye-balled a traditional pesto recipe (basil, toasted pine nuts, parmesan cheese, garlic, salt, black pepper, and olive oil).

Friday, November 15, 2013

Bandera's Grilled Artichoke with Remoulade

Anyone who talks to me for more than five minutes knows my love for Chicago. A few years away hasn't taken that away. So when I'm homesick, I like to make food inspired by my favorite meals from my favorite Chicago restaurants. Bandera is one of them...dim lights, live piano player, and a wicked good menu. Perhaps the best part is their appetizer...an artichoke grilled until smoky and charred just on the edges, soft in the center, and an a-ma-zing sauce.

Ingredients
1 artichoke, trimmed and choke removed
1 small lemon, halved
Montreal steak seasoning
Olive oil

For the remoulade:
2 cups mayonnaise
2 tbsp. whole grain mustard
Juice of 1 lemon
1 tsp. Worcestershire sauce
2 tbsp. caper
2 tbsp. sweet relish
3-4 cloves fresh minced garlic
Salt and black pepper to taste

Directions
1. Prepare the artichoke.

2. Bring a large pot of water to a boil and squeeze lemon. Then add lemon and rind to water.
3. Add artichoke to water and boil for 15 minutes.
4. Remove from pot and allow to cool in refrigerator for at least 30 minutes.
5. Preheat grill (medium saucepan).
6. Cut artichoke in half.
7. Drizzle with olive oil and season generously with steak seasoning.
8. Place on grill/saucepan, turning until lightly heated through and slightly charred.

8. For the sauce, combine ingredients in a food processor until well combined.
*Note: you want to keep some of the chunkiness.
9. Serve alongside artichoke and enjoy!


Quinoa "Fried Rice"


LA has great food...sushi, Korean BBQ, thai food, year-round farmer's markets. But there are a few things that don't measure up to back home: bagels, pizza, and chinese food. So one night, when I was craving that salty sweet mixture of fried rice, I found this healthy version (very slightly adapted). And you know what? It wasn't so bad! But it's no Mongolian house (Katie...you know what I'm talking about).

Ingredients
2 large eggs, beaten
1 small yellow onion
2 cloves garlic, minced
8 oz. baby bellas, sliced
1 head broccoli, sliced into small florets
1 zucchini, diced
1/2 cup frozen corn
1/2 cup frozen peas
2 carrots, peeled and grated
3 cups cooked quinoa
1 tbsp. grated fresh ginger
2 tbsp. soy sauce
1 tbsp. hoisin sauce
2 green onions, sliced
Sriracha, for serving
Olive oil

Directions
1. Heat olive oil in a small saucepan over medium-low heat. Add eggs and fry until cooked through (about 2-3 minutes on each side), flipping only once.
2. Set aside to cool before dicing.
3. Add olive oil to a large stockpot and heat over medium-high heat.
4. Add onion and a sprinkle of salt, and cook until translucent (about 4-5 minutes).
5. Add garlic and cook for another minute until aromatic.
6. Add mushrooms, broccoli, and zucchini. Stir to combine and cook for 3-4 minutes. 
7. Add corn, peas, carrots, and cooked quinoa. Stir to combine and cook for 1-2 more minutes.
8. Add ginger, hoisin, and soy sauce, and stir to combine. Cook for 2 minutes.
9. Stir in green onions and diced eggs.
10. Serve immediately, drizzled with sriracha.

Summer Chopped Salad


I am adding this one to the list of salads that taste better than salad...like this one and this one and this one...I can't really use the excuse that I get sick of salad when it tastes like this. And why would I want to?

Ingredients
1 head butter lettuce
2 roma tomatoes
2 ears of corn
1 large avocado
4-5 strips of bacon
1 pint of blueberries
1 boneless, skinless chicken breast
1 package of crumbled feta cheese
Salt and black pepper
Salad dressing (I like Girard's champagne vinaigrette)
Olive oil

Directions

1. Roast corn in the oven the easy way and set aside to cool.

2. Season chicken with salt and pepper (and any other seasonings you like). 
3. In a medium saucepan, heat olive oil over medium-low heat.
4. Once hot, cook chicken and set aside to cool slightly.
5. Cook bacon until crispy and set aside to cool.
6. Once corn is cool enough to touch, slice kernels off the cob.
7. Dice the chicken and crumble the bacon.
8. Slice tomatoes and avocado, and chop the lettuce.
9. Place all ingredients into a large bowl and dress lightly with salad dressing or viniagrette.
10. Enjoy!

Short Ribs with Wine and Cream


Since cooking club began, it has been such a blast to get together with my friends and catch up over good food and good wine. It's been fun to get to know new people and to bond with other women over something we all have in common: a joy for cooking (and eating!) Another benefit is the great recipes other people make that have grown my recipe collection. This is a recipe that my friend Sarah made for our first cooking club (adapted from this lovely lady), and it's one of my favorite kinds of meals...a warm and savory meal cooking in a pot for long enough that it makes your whole place smell amazing...perfect for a cool day: short ribs!

Ingredients
12 whole shortribs
Salt and black pepper, to taste
3 tbsp. olive oil
1 cup red wine
32 oz. beef stock
2 tbsp. minced fresh rosemary
2 tbsp. whole grain mustard
1 cup heavy cream
2 tbsp. capers
16 oz. assorted mushrooms (i.e., baby bellas, creminis, oysters)

Directions
1. In a heavy pot over high heat, heat olive oil.
2. Pat the shortribs dry with a paper towel and season on both sides with salt and pepper.
3. Quickly sear both sides of the short ribs in the hot oil (approximately 90 seconds each), flipping halfway through.
4. Remove to a plate.
5. Deglaze the pot by adding the red wine and beef broth.
6. Add rosemary, and stir to combine, scraping the bottom of the pot to get all those browned tasty bits up into that sauce.
7. Return the shortribs to the pot and reduce heat to low.
8. Cover the pot and simmer for 3 hours.
9. Remove the shortribs from the pot and set aside.
10. Stir in the mustard, cream, and capers.
11. Raise heat to medium and allow pot to boil for a couple minutes or until sauce has slightly thickened.
12. Add more salt and pepper, to taste.
13. Return shortribs to the pot, cover, and turn off the heat.
14. Separately, heat oven to 400 degrees. Arrange mushrooms in a single layer on a baking sheet.
15. Drizzle with olive oil and season with salt and pepper.
16. Roast mushrooms until golden brown, about 15 to 20 minutes.
17. Serve the shortribs on top of the mushrooms and drizzle with extra cream sauce.

Saturday, September 21, 2013

Chocolate-Espresso Dacquoise and Cooking Club #1

Last January, I was reading this book, and it reminded me of the importance of community, of connecting with friends and walking through life together. I've been really blessed to find a group of friends here in LA with whom I can do just that. One specific aspect of Shauna's book that caught my attention was the cooking club that she mentions comprising monthly meeting with a bunch of friends who gather over food. And I thought, why not start one here?

So in February, Cooking Club began, bringing my friends together from different areas of life: school, bible study, even a friend I've known since before I moved to LA. Every month, we have a theme, and the first was Best Thing You Ever Made.

Liz made bruschetta. Elisha made a caprese salad turned up a notch.
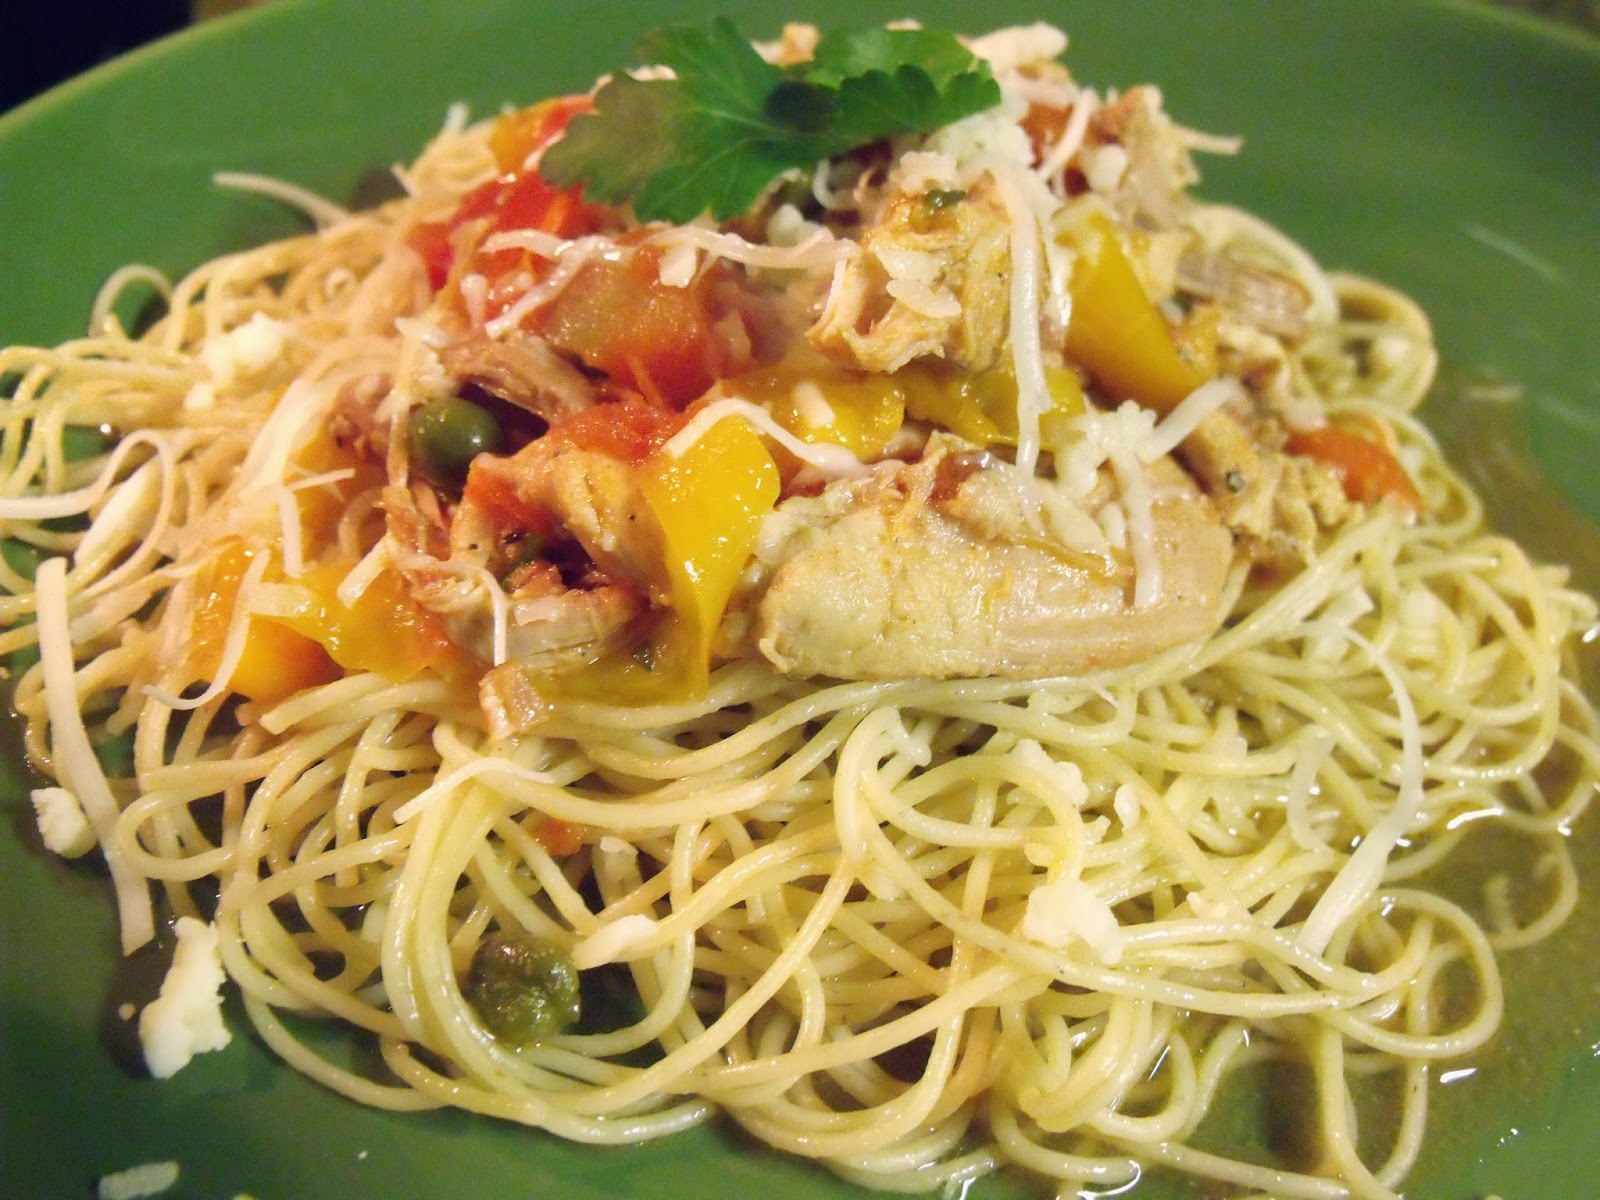
Jackie made Italian chicken with noodles. Sarah made short ribs.
I made dessert...a "new"recipe that I found in an issue of "The Best of America's Test Kitchen..." a Chocolate-Espresso Dacquoise. 

Here is the evidence of the fun of Cooking Club #1, followed by the recipe for dessert.


Chocolate-Espresso Dacquoise
Ingredients
For the merinque:
3/4 cup blanched sliced almonds, toasted
1/2 cup hazelnuts, toasted and skinned
1 tbsp. cornstarch
1/8 tsp. salt
1 cup granulated sugar
4 large egg whites, at room temperature
1/4 tsp. cream of tartar

For the buttercream:
3/4 cup whole milk
4 large egg yolks
1/3 cup granulated sugar
1 1/2 tsp. cornstarch
1/4 tsp. salt
2 tbsp. amaretto
1 1/2 tbsp. instant espresso powder
16 tbsp. unsalted butter, softened

For the ganache:
6 oz. bittersweet chocolate, chopped fine
3/4 cup heavy cream
2 tsp. corn syrup

For garnish:
1 cup blanched sliced almonds, toasted
12 whole hazelnuts, toasted and skinned

Directions
For the meringue:
1. Blanch the almonds.
2. Toast the almonds and hazelnuts. Then remove the skin from the hazelnuts. Set aside.
3. Adjust oven rack to the middle position. Heat oven to 250 degrees.
2. Cut parchment paper into a rectangle slightly larger than 13x10 1/2-inches. Grease a baking sheet and place the parchment paper on it.
3. In a food processor, combine almonds, hazelnuts, cornstarch, and salt until finel group, about 15 to 20 seconds.
4. Add 1/2 cup sugar and pulse twice to combine.
5. Using a stand mixer fitted with the whisk attachment, whip egg whites and cream of tartar together on medium-low speed until foamy, about one minute.
6. Increase speed to medium-high and whip whites into soft, billowy mounds, about one minute.
7. With the mixer running at medium-high speed, slowly add remaining 1/2 cup sugar and continue to whip until glossy, stiff peaks form, about 2 to 3 minutes.
8. Fold nut mixture into egg whites in two batches.
9. With an offset spatula, spread meringue evenly onto the parchment paper, keeping within the 13x10 1/2-inch rectangle. 
10. Lightly mist (or sprinkle) the surface of the meringue with water until glistening.
11. Bake for 90 minutes. Turn off the oven and allow meringue to cool in the oven for another 90 minutes (DO NOT OPEN the oven during baking or cooling).
12. Remove from oven and let cool to room temperature, about 10 minutes.
For the buttercream:
1. In a small saucepan, heat milk over medium heat until just simmering.
2. Meanwhile, in a medium mixing bowl, whisk together egg yolks, sugar, cornstarch, and salt until smooth.
3. Remove milk from heat and, whisking constantly, add half of the milk to the egg mixture to temper.
4. Whisking constantly, return tempered yolk mixture to milk in saucepan.
5. Return saucepan to medium heat and cook, whisking constantly, until mixture is bubbling and thickens to the consistency of warm pudding, about 3 to 5 minutes.
6. Transfer pastry cream to a bowl. Cover with plastic wrap that you lay directly on the surface of the cream. Cover and refrigerate until set, at least two hours and up to 24.  Before using, warm gently to room temperature in microwave, stirring every 10 seconds.
7. Stir together amaretto and expresso powder. Set aside.
8. Using a stand mixer fitted with the paddle attachment, beat butter at medium speed until smooth and light, about 3 to 4 minutes.
9. Add pastry cream in 3 batches, beating for 30 seconds after each addition.
10. Add amaretto mixture and continue to beat until light and fluffy, about 5 minutes longer, scraping down the bowl thoroughly halfway through mixing. Set aside.
For the ganache:
1. Place the chocolate in a heatproof bowl.
2. In a small saucepan, bring heavy cream and corn syrup to a simmer over medium heat.
3. Pour cream mixture over chocolate and let stand 1 minute.
4. Stir mixture until smooth. Set aside to cool until chocolate mounds slightly when dripped from a spoon.
To assemble:
1. Carefully invert the meringue and peel off parchment paper.
2. Reinvert meringue and place on cutting board. Using a serrated knife, use a gentle, repeated scoring motion and trim the edges of the meringue to form a 12x10-inch rectangle. Discard the trimmings.
3. With the long side of the rectangle parallel to the counter, use a ruler to mark the top and bottom edge of the meringue at 3-inch intervals.
4. Using the serrated knife, score the surface of the meringue. Gently score through the meringue until it is fully cut through.
5. Repeat to make four 10x3-inch rectangles.
6. Place three rectangles on a wire rack set in a baking sheet. 
7. Using an offset spatula, spread 1/4 cup ganache evenly over the surface of each meringue.
8. Refrigerate until ganache is firm, about 15 minutes. Set aside remaining ganache.
9. Using an offset spatula, spread the top surface of the remaining meringue with 1/2 cup buttercream. Place on a wire rack with ganache-coated meringues.
10. Invert one ganache-coated meringue and place on top of buttercream. Press gently to level.
11. Repeat two more times, spreading meringue with 1/2 cup buttercream and topping with inverted ganache-coated meringue.
12. When last ganache-coated meringue is in place, spread half of the remaining buttercream to lightly coat the sides of the cake.
13. Smooth sides and top until cake resembles a box.
14. Refrigerate until buttercream is firm, about 2 hours.
15. Once the buttercream is firm, the assembled cake may be wrapped tightly in plastic wrap and refrigerated for up to 2 days.
16. Warm remaining ganache in a heatproof bowl set over barely simmering water, stirring occasionally until mixture is very fluid but not hot.
17. Keeping the assembled cake on a wire rack, pour ganache over the top of the cake.

18. Using an offset spatula, spread ganache in a thin, even layer over the top of the cake, letting the excess flow down the sides.
19. Spread ganache over sides in a thin layer.
20. Garnish the top of the cake with whole hazelnuts. 
21. Holding the cake in one hand, gently press sliced almonds onto sides with the other hand.
22. Transfer to platter. Cut into slices and serve. For best results, slice with a sharp knife that has been dipped in hot water and wiped dry before each slice.