

Shakshouka hails from Israel and is known as a traditional dish that involves poached eggs, tomato sauce and peppers. My understanding is that it is typically served with bread to scoop up all that tasty sauce. This is my attempt at replicating the dish.
Ingredients
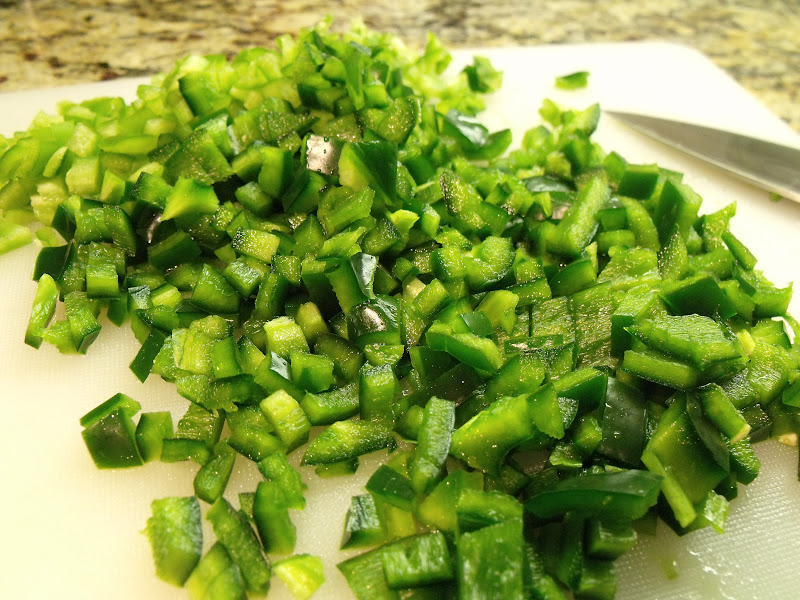
5 Anaheim chiles
1 small onion
5 cloves garlic
1 tsp. ground cumin
1 tbsp. paprika
28 oz. crushed tomatoes, undrained (*try to find San Marzanos)
Salt, to taste
Black pepper
Olive oil
1/2 cup feta cheese, crumbled
3-4 scallions, chopped
2-6 eggs*
Directions
1. Seed and finely chop the chiles. Also finely chop the onion and mince the garlic cloves.
3. Cook the chiles and onions until soft.


*Now, there are two options for the eggs. The original recipe calls for the eggs to be poached in the sauce (which, in my understanding, is what makes traditional shakshouka):
6. Crack the eggs over the sauce. Cover and cook about 5 minutes, until yolks are just set.
7. Sprinkle with feta cheese and scallions and serve.
I did things this way the first time I made the recipe and it tasted great. The only issue is that I'm usually cooking for just myself, so it wasn't possible with the eggs already in the sauce to save leftovers...and if you're like me, you're probably rushed in the mornings and need a quick breakfast. So you can appreciate why I love breakfast-y leftovers.
For that reason, I altered the recipe slightly so that the sauce cooks on its own and I can store the leftovers in a container. Here's what I do:
6. In a separate skillet while the sauce is simmering, heat olive oil and crack the desired number of eggs. Season with salt and pepper and cook over-easy.
7. When the sauce is ready, scoop one portion's worth into a bowl and top with the over-easy eggs.
8. Sprinkle each portion with crumbled feta and scallions.
I found this to be good not only so I can heat up the sauce several mornings in a row and serve with fresh eggs, but it is also easier to get the eggs cooked just right. While poaching is great because the flavors from the sauce can infuse the eggs while they cook, it was really hard for me to get the timing down so that the yolks were still runny and the whites were fully cooked. Alas, this is one of the many talents that I have not mastered in the kitchen. When cooking eggs over-easy, it's so much easier for me to keep the yolks runny, which is awesome when they run out into the tomato sauce.
**However, if you're having a group over for breakfast, or if you like breakfast for dinner (I do!), this would be so fun to serve with the eggs poached in the big skillet. Just plop the skillet down on a hot pad in the middle of the table, heat up some pitas, and dig in! Community table dining? My favorite.


